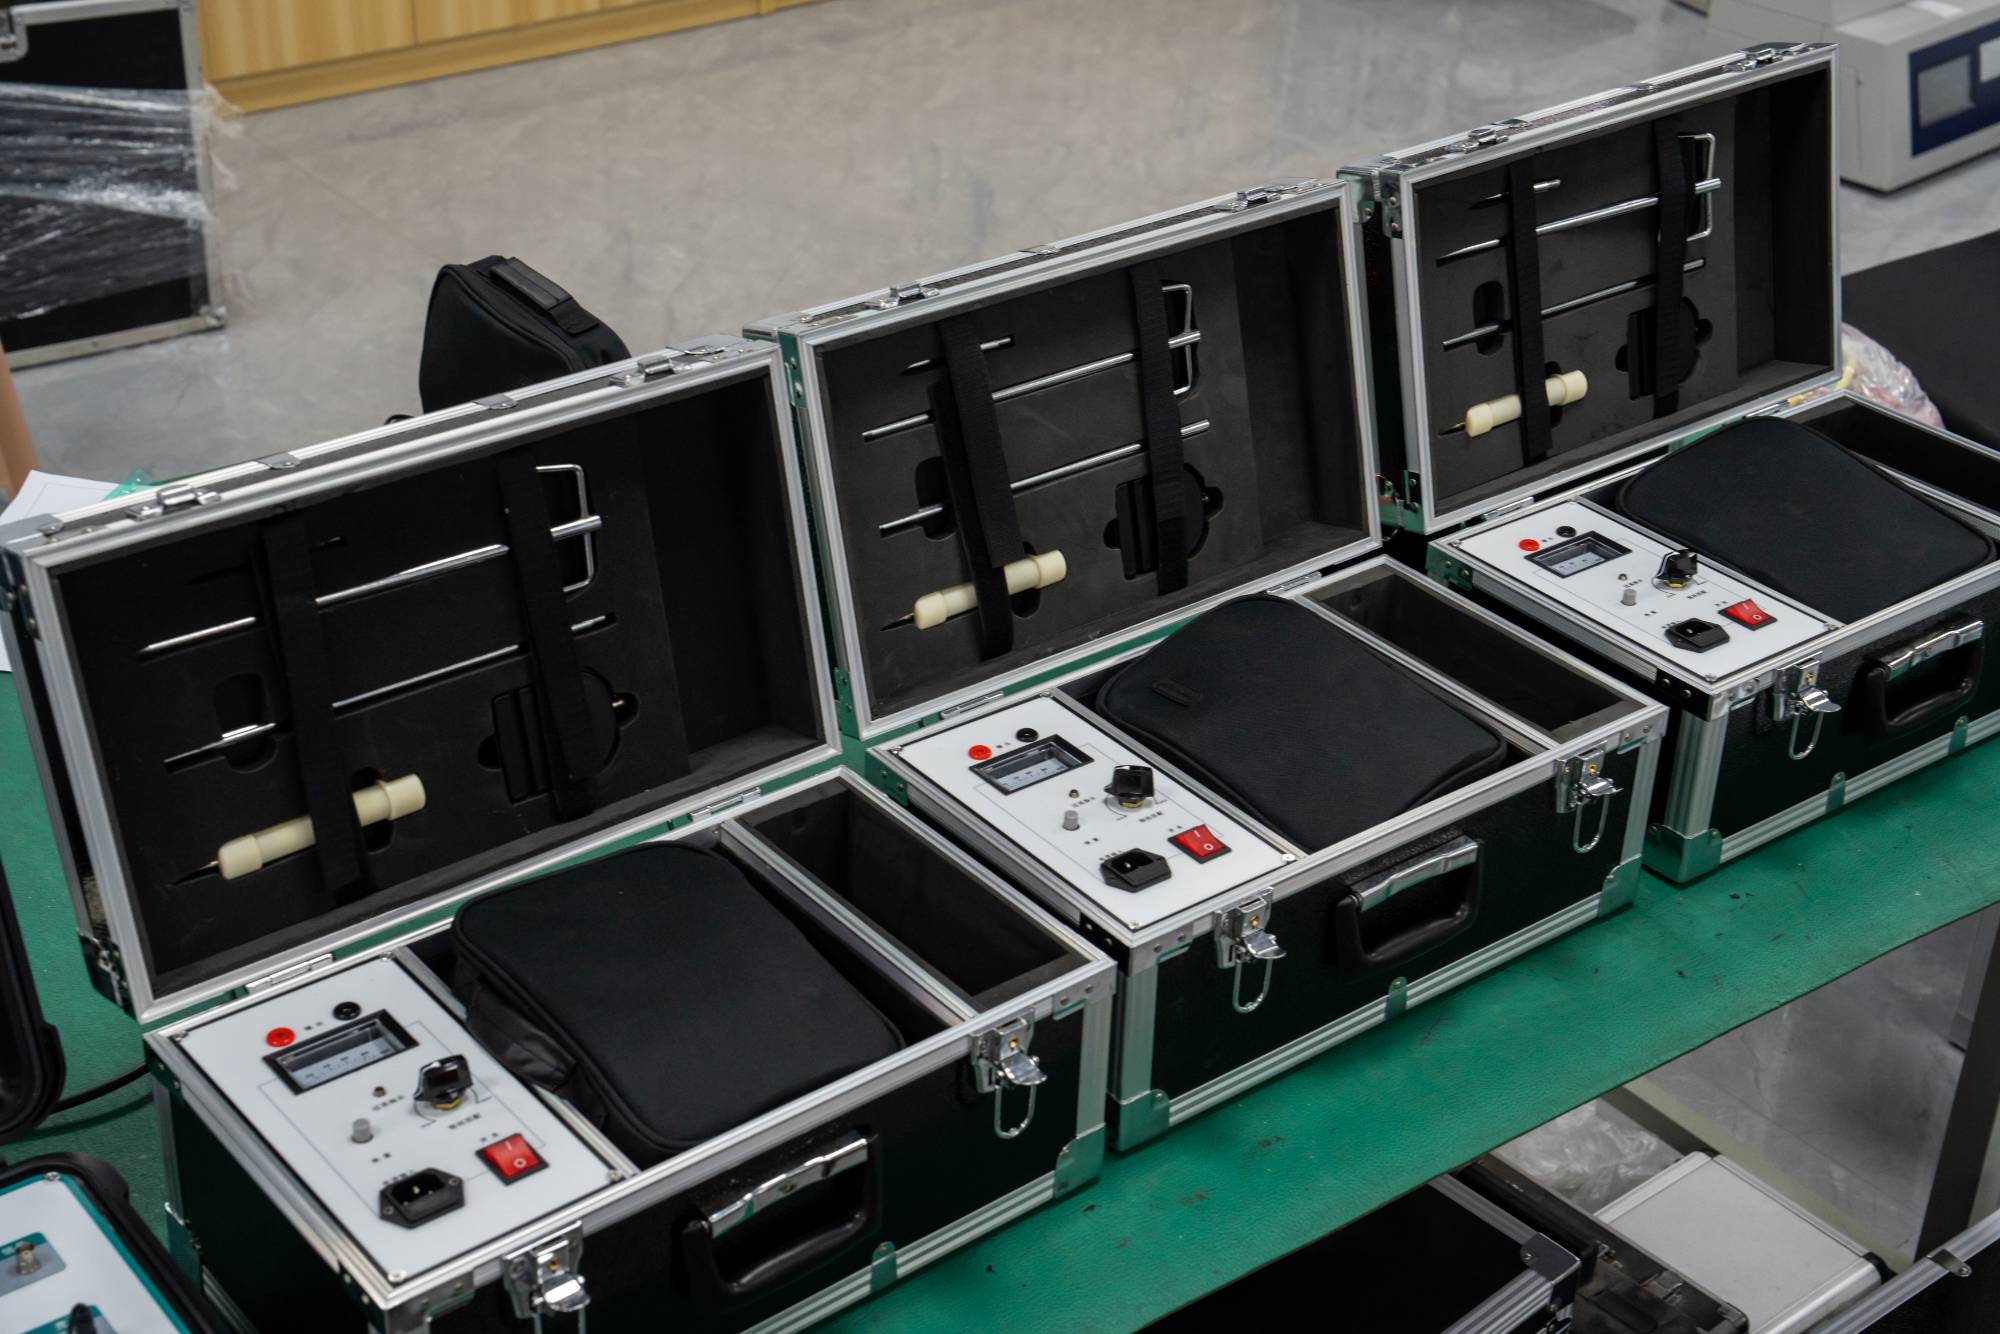
The cable fault tester Die Nutzung von UHV-Strom kann vielen Energiearbeitern die Durchführung verschiedener Leistungstests erleichtern.
Methods for locating cable faults
Short circuit fault location
Use a multimeter to check the continuity of each pair (core core, core armor) by keeping both ends of the cable open. A pair with continuity will be identified as a fault
The cable length and fault distance are determined using the TDR method with a pre locator
The audio generator is connected to the fault pair of the tested cable (CUT), and a suitable receiver is used to track the cable path until the last signal peak (fault point), after which the signal completely disappears.
After excavation, with the help of a cable identification system, identify the faulty cable from the cable bundle (if applicable).
Identify faulty cables and repair the faulty parts.
Low/high resistance/flicker fault location
After identifying the faulty wire pair and fault resistance, the total length of the cable is determined using the TDR method
Identify the faulty cable from a pile of cables and repair the faulty part.
Open circuit fault location
After checking the continuity of each pair of cables with a multimeter, determine the total length and fault distance of the cables using the time-domain reflector method
Connect the audio generator to a healthy pair of faulty cables and use a suitable receiver to track the cable path
Identify faulty cables from a pile of cables and repair the faulty parts
Moisture/dampness entering the fault location
With the help of an insulation resistance meter, by keeping both ends of the cable open, identify the faulty pair (Core Arm) with unstable IR readings.
Use pre-processing techniques to dry wet faults, such as using a surge generator (Thumper) to surge for a few minutes or burning the device (using continuous HV DC) or charging the CUT for a moment.
Follow the steps described in the low/high resistance fault location.


